
5 Easy Steps to Get Started with Quilt In The Hoop
HoopSisters on 23rd Apr 2014
Step 1: Load the Design on to your Embroidery Machine
Designs can be purchased on CD or by simply downloading them on your computer. Either way, once the designs are loaded to your computer you can then transfer the designs to your machine. Each machine is different and if you're unsure about how to transfer designs to your machine the best thing to do is contact the local sewing shop that you purchased your specific machine from.
Step 2: Hoop your Battilizer
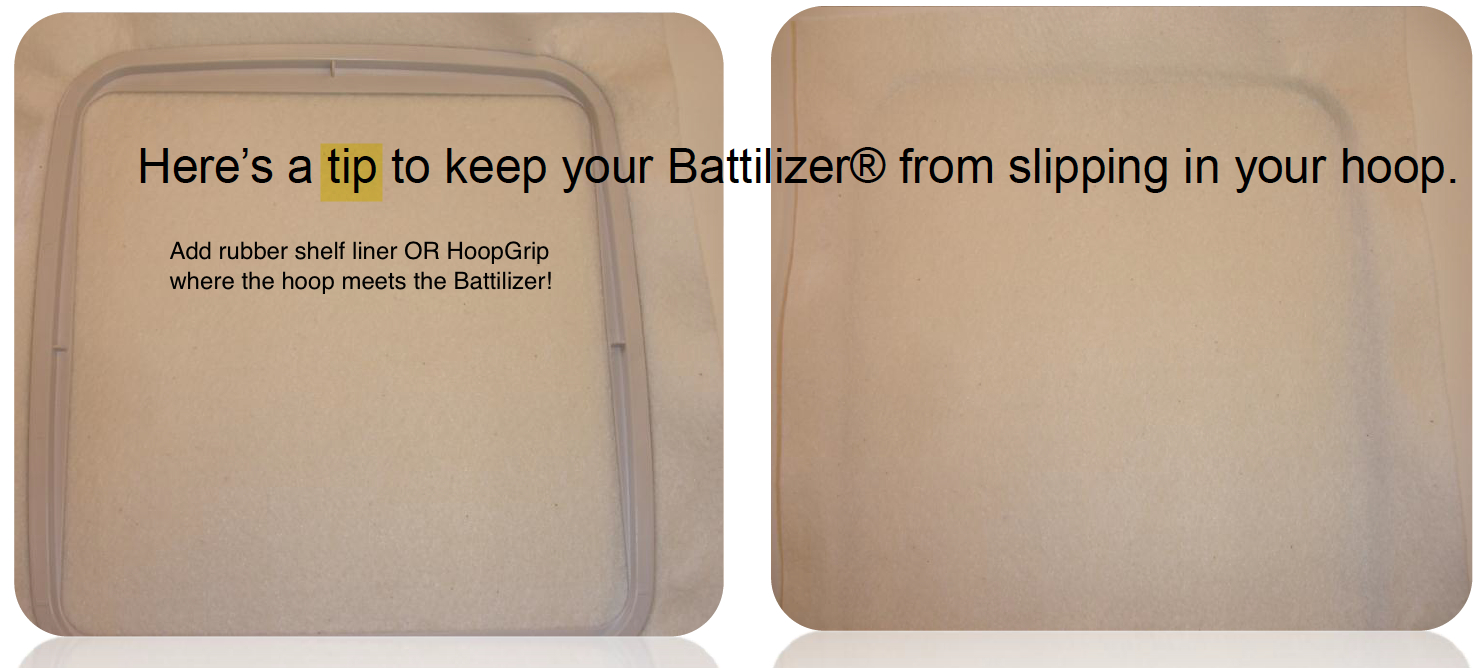
We recommend using Battilizer with HoopSisters designs. Battilizer is a stabilizer and batting combination product in one! This reduces the amount of shifting in your hoop and acts as the middle of your quilt "sandwich" as you'll place fabric on the top and back of the Battilizer. Battilizer has the right amount of strength and stability for quilt-in-the-hoop plus it is an all in one product, so no need to buy stabilizer and batting.
Step 3: Read & Follow Instructions
Make sure to read your instructions and follow along step-by-step on your slideshow instructions to see what to do next.
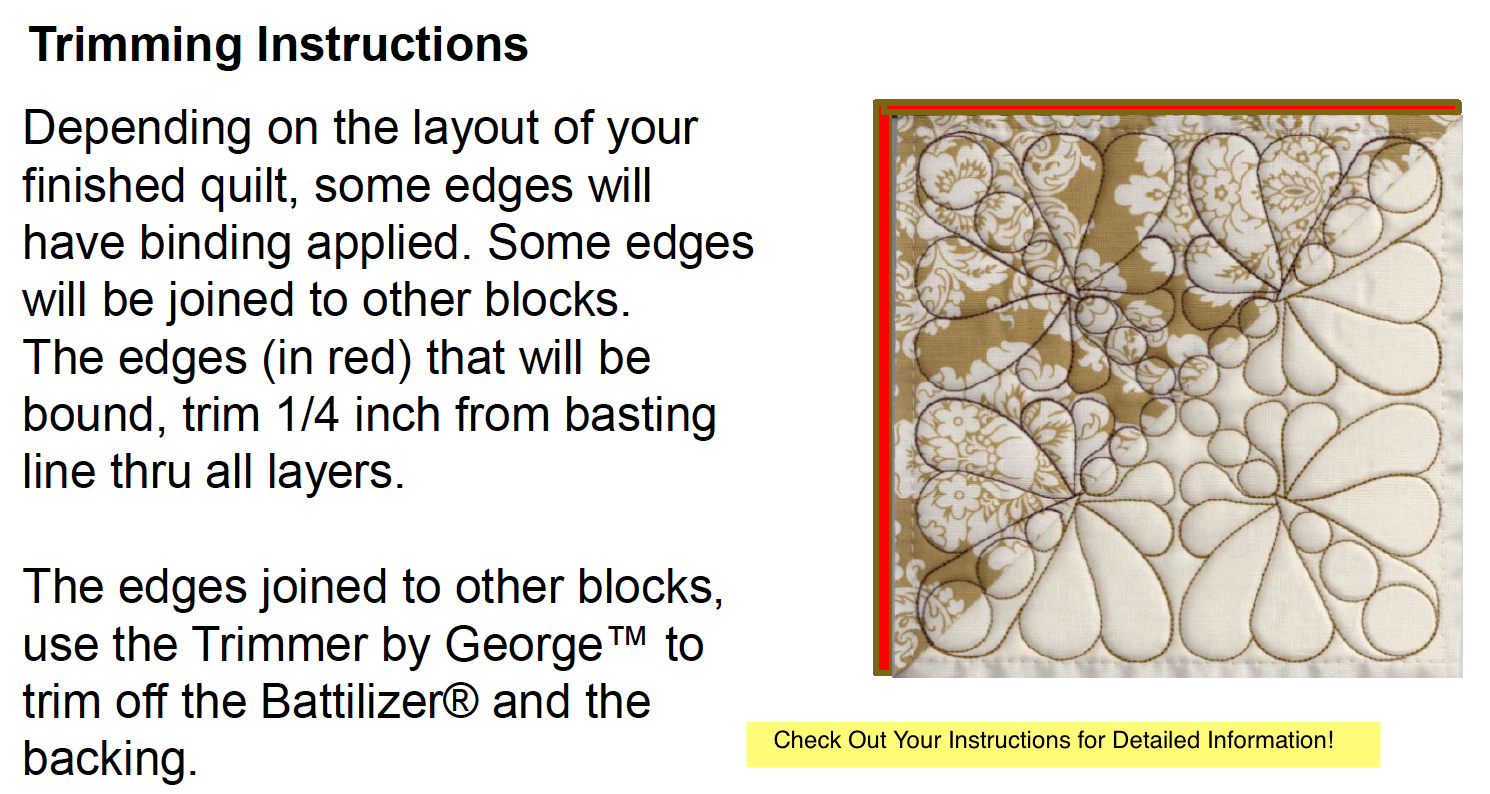
Step 4: Trim your EmbroidaBlocks
When it is time to trim your blocks we recommend the Trimmer By George 2.0! Watch our video on how to use our Trimmer By George 2.0!
Step 5: Join your EmbroidaBlocks
Joining your EmbroidaBlocks is when it all starts coming together! Your quilt starts to take shape and you're just about done!
Once all of your blocks are joined you have a completed quilt that looks amazing on the front and the back! Tah-Dah!